Atari Lynx Vault is free, ad-free, and community-supported — please consider donating.
This site takes real effort to maintain. Your donation helps keep the lights on and the Lynx legacy alive.
via PayPal · any amount helps

The 9V power circuit in an Atari Lynx can be problematic and we recommend that you replace the MOSFET and zener diodes in your Lynx, and in some cases you may also need to replace the 3906 transistors too. However your first step before doing any of this should be to check if your Lynx is actually still OK. This is the dead or alive test for the Atari Lynx.
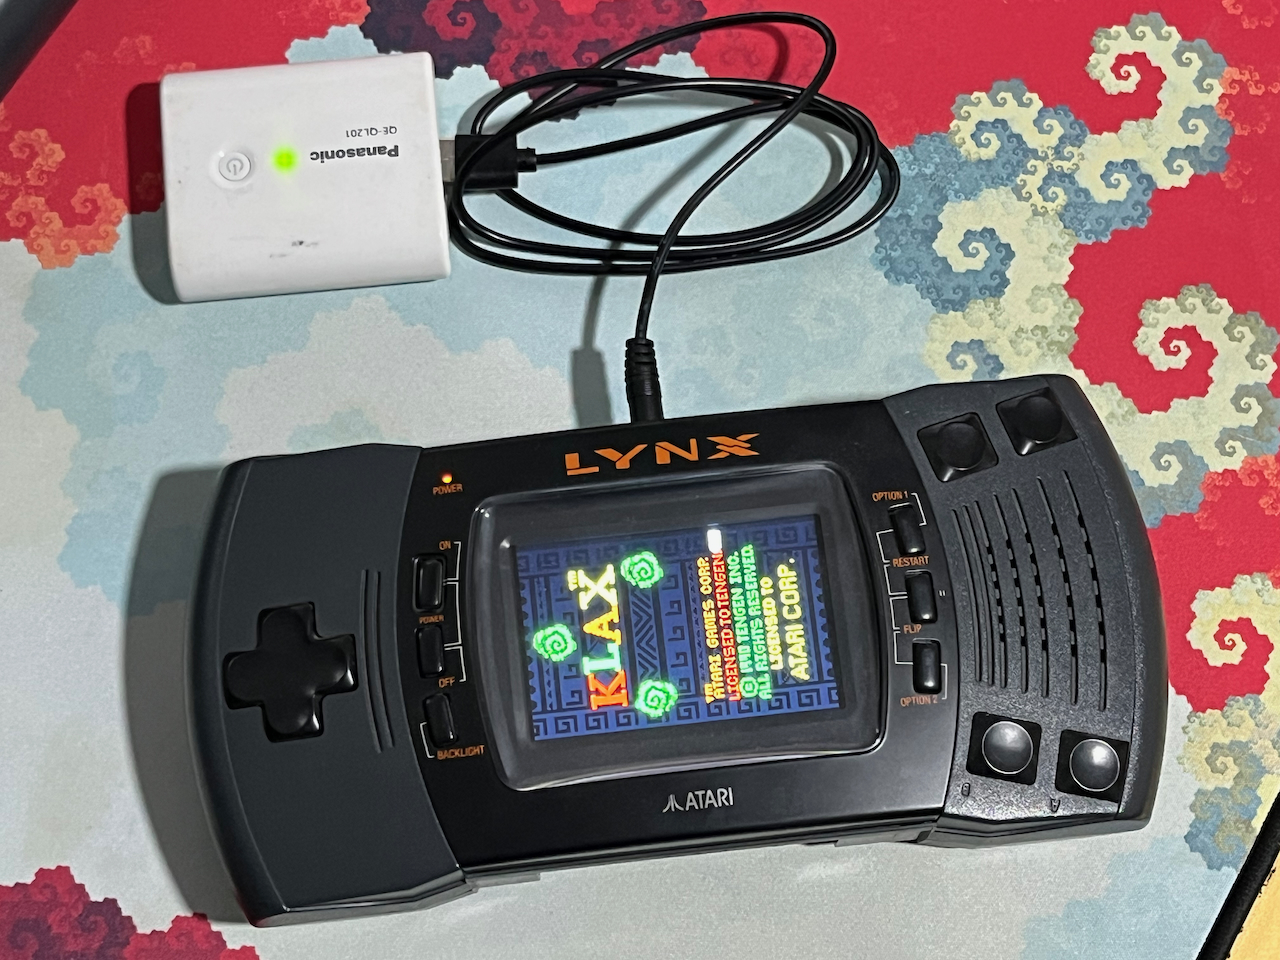
You can check whether a Lynx is dead or alive without having to take it apart. All you need is one of these cables that we sell in our store.
The cable plugs into the ComLynx port, which is the middle port on the top of the Lynx. Plug it in and then follow the instructions in the "Power up your Lynx" section below.
 | 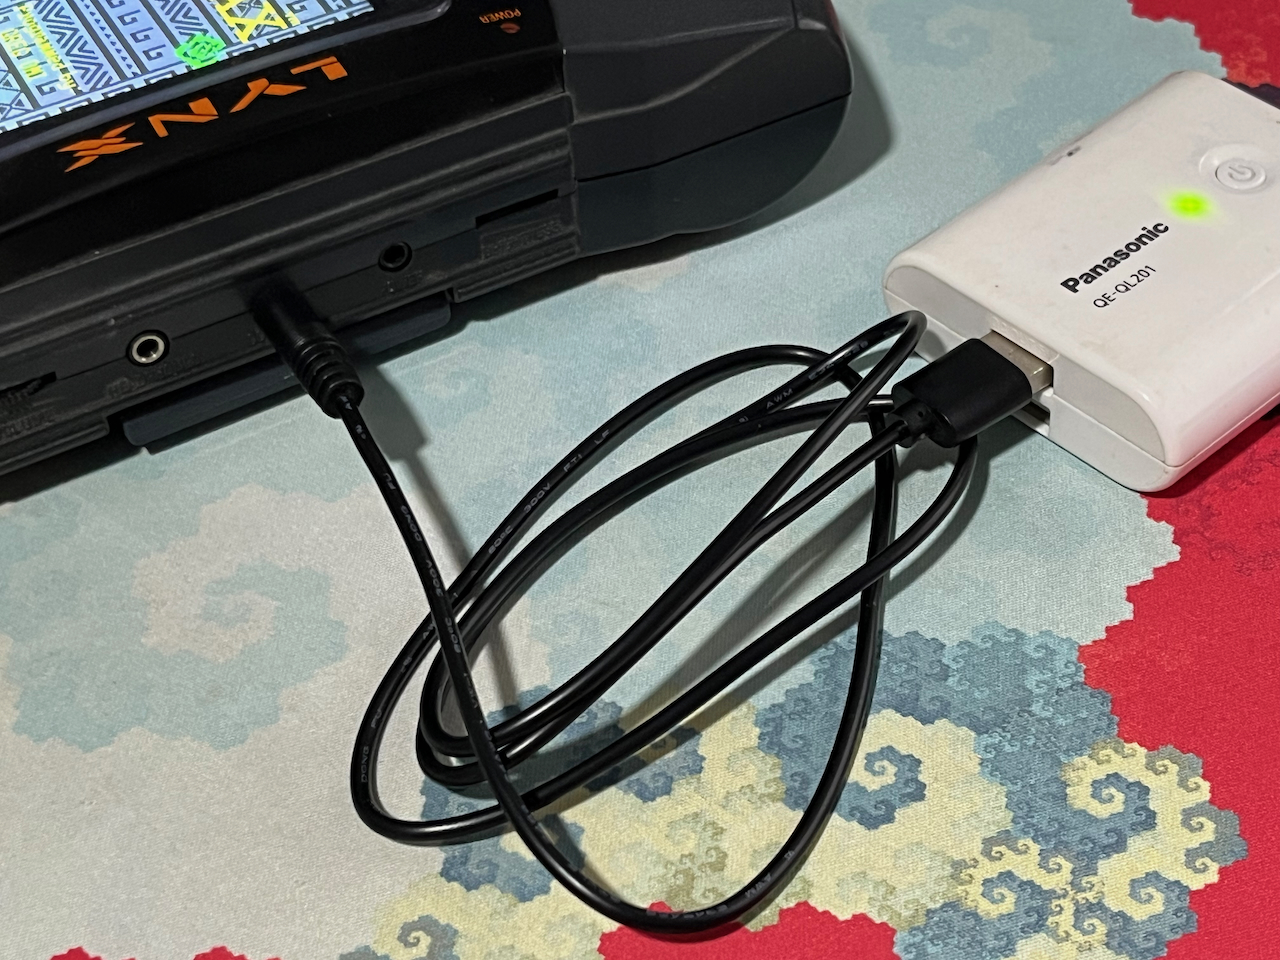 |
If you have the Lynx already taken apart or want to make your own USB dead/alive test cable, follow these steps.
WARNING: If you use this method with something other than a USB cable (e.g. a bench power supply) and you feed the Lynx more than 5V, you will fry the CPU and maybe other components. Make sure that the voltage is 5V for this test!
Please refer to the Lynx 2 disassembly steps and Screw size chart or if you own an earlier model - Lynx 1 disassembly steps and Screw size chart.
Since the 9V power circuit is prone to failure, we simply want to bypass it. Doing this will let us know if the Lynx still works, if it does, then the 9V power circuit with its MOSFET and zener and the 3906 transistors, can be fixed. If your Lynx has a bad 9V circuit and you try to power it on using batteries or a wall adapter, it can (and probably will) destroy your Lynx.
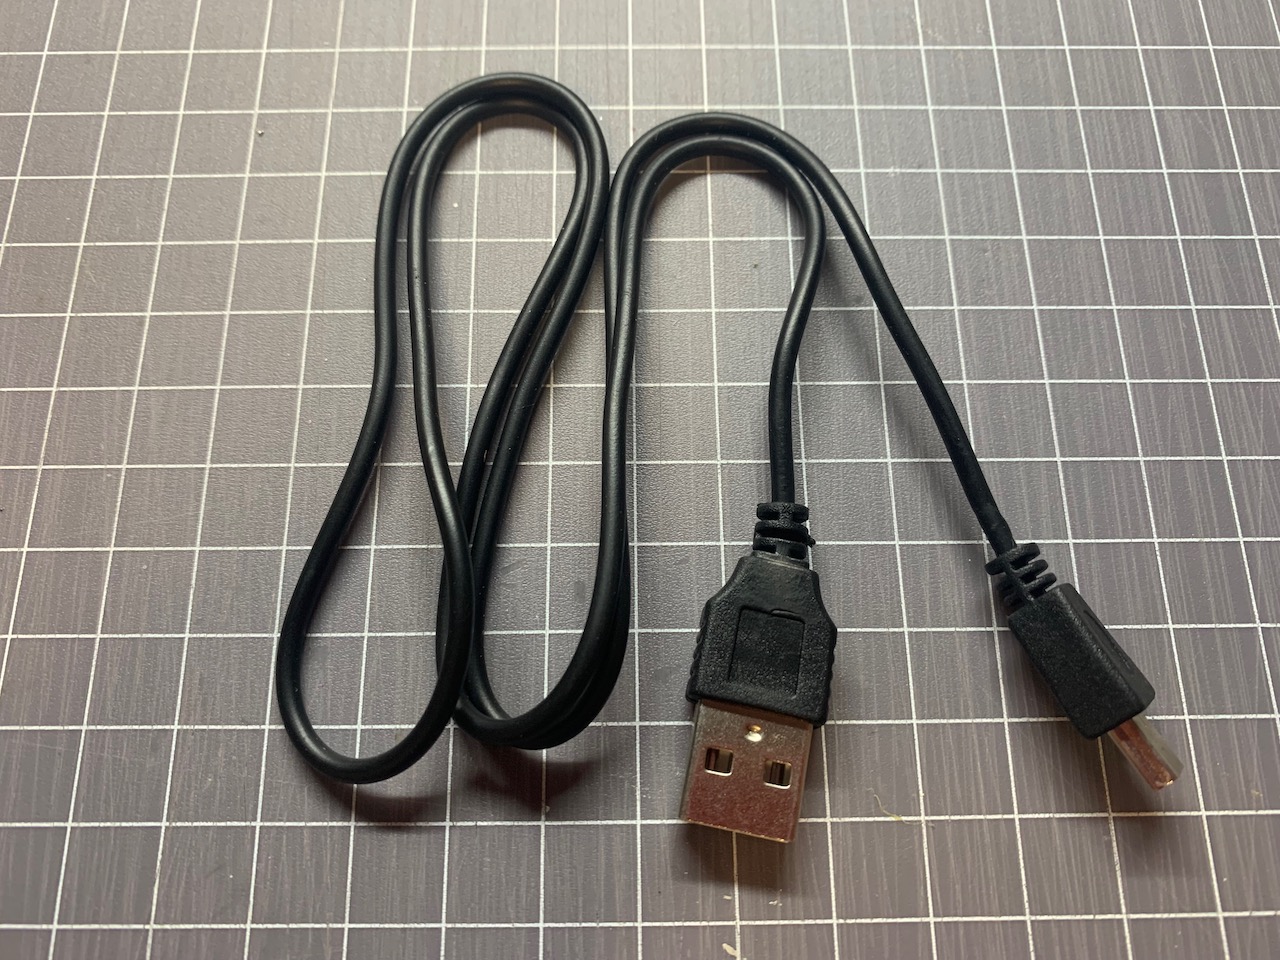
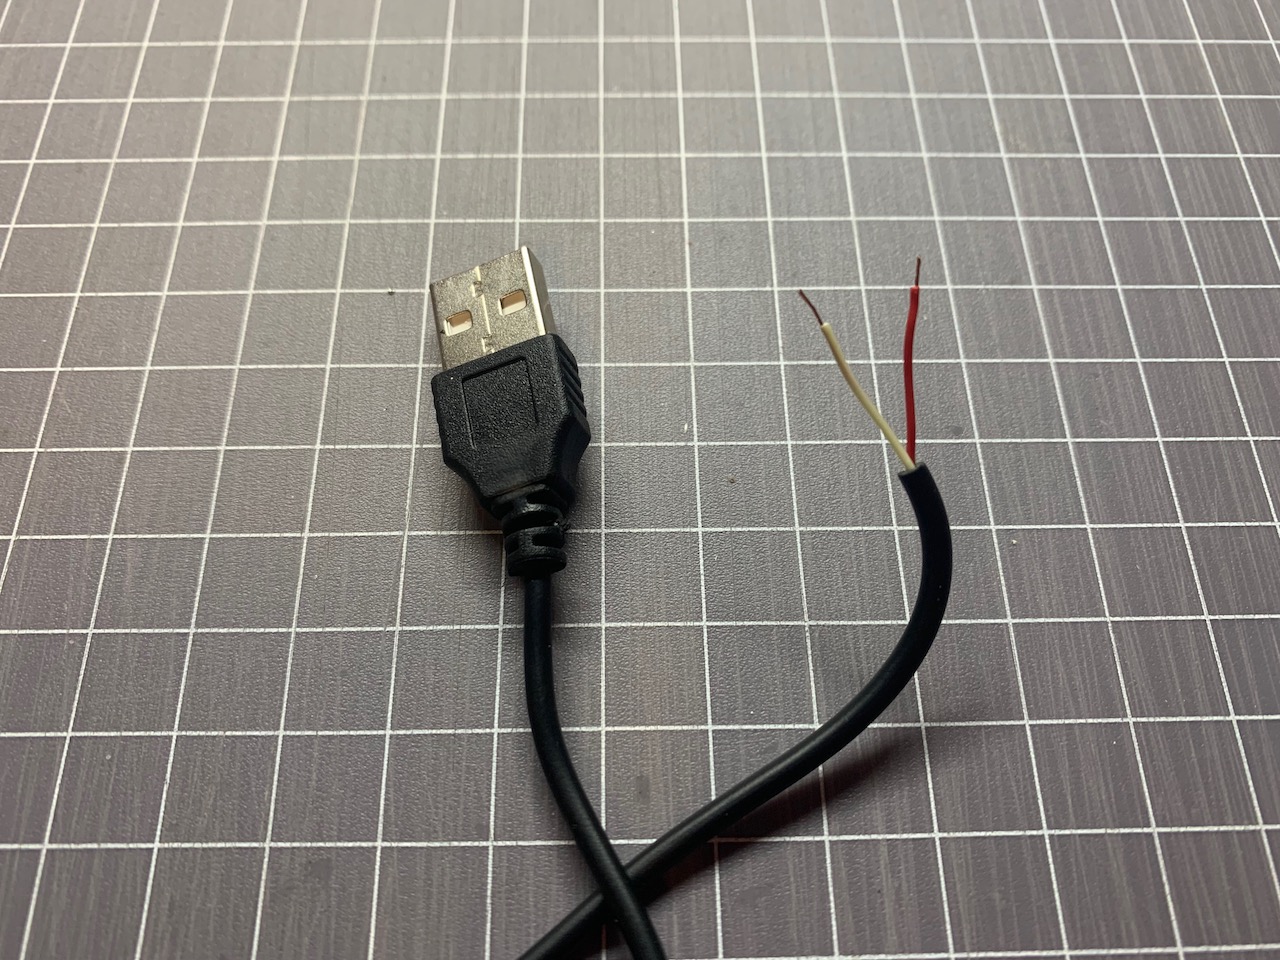
So the first step is to get a USB cable. Any cheap USB power cable will do because you'll need to cut it anyway. Here we used a USB to mini-USB cable. The mini-USB end was then cut off.
 | 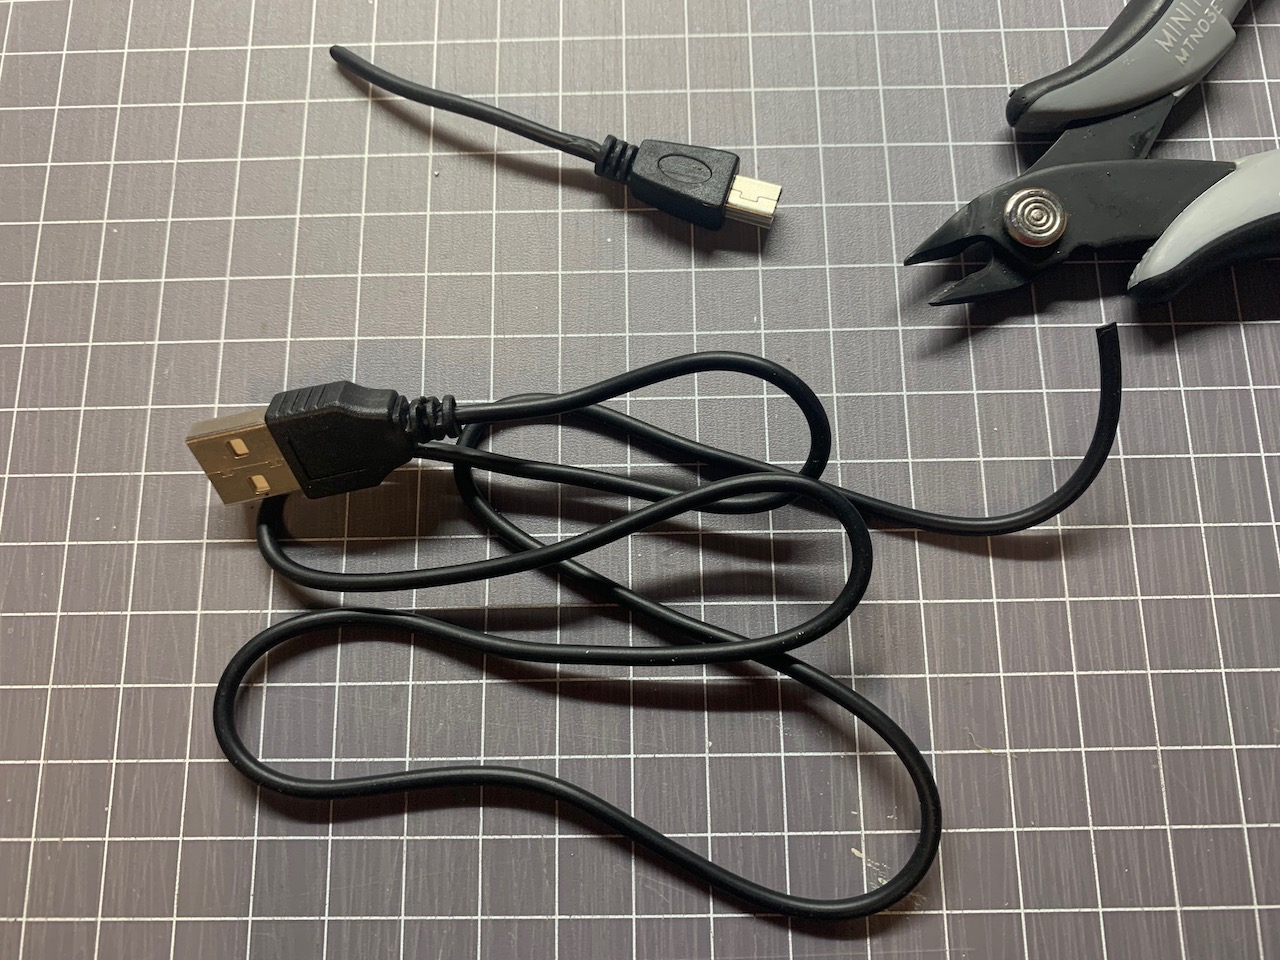 |
We only want the bigger side of the USB cable for this. So where you cut the other end off, remove the outer (black) insulation and strip back the two wires. If you have four wires in your cable, you only want to use the RED and BLACK wires. If you have two wires, you will want to use RED and WHITE (sometimes the WHITE is BLACK, but you only have two choices here anyway).
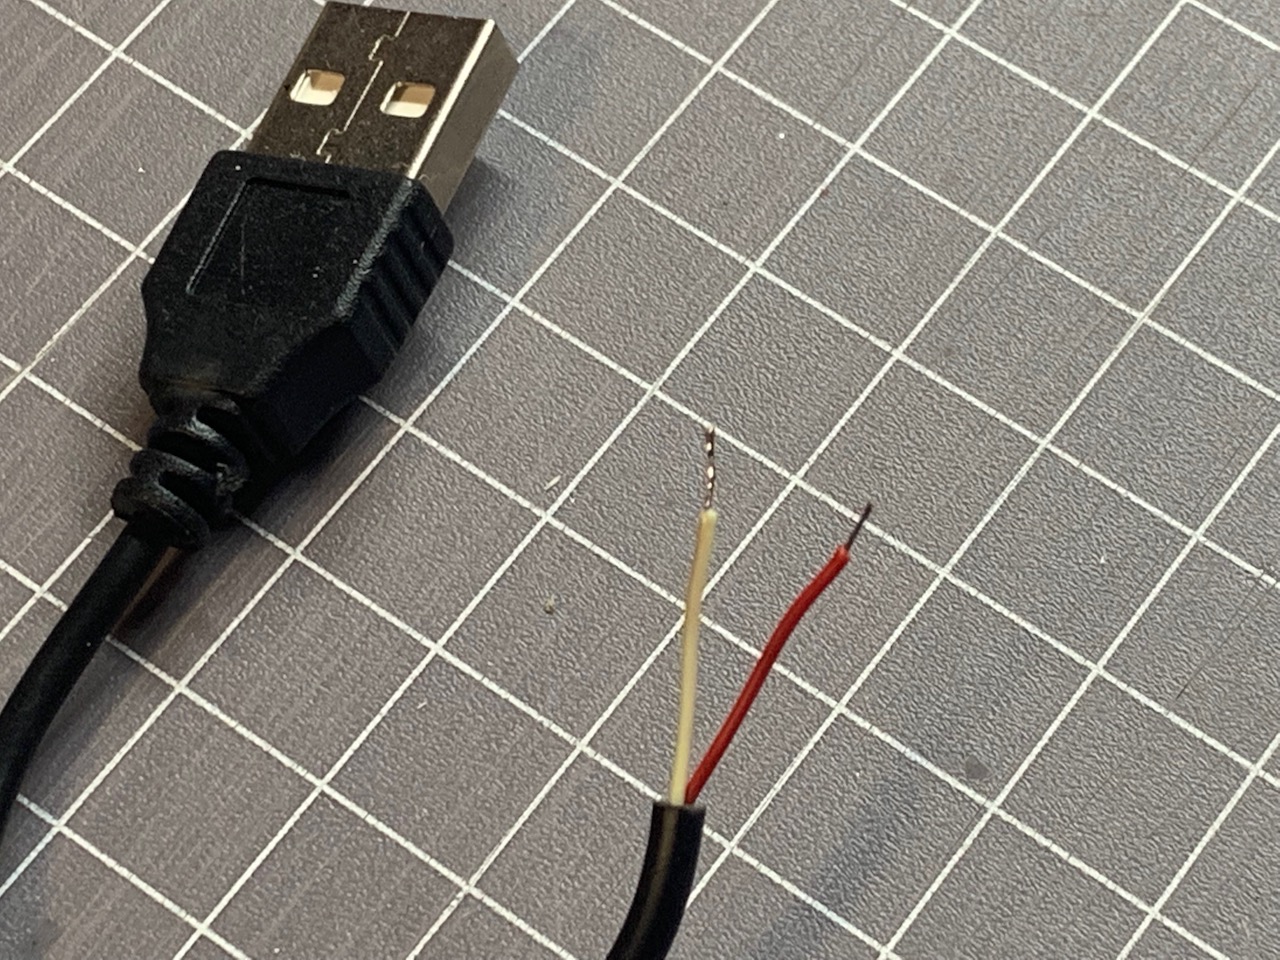
Strip both of the wires back about 5mm and tin them with a soldering iron.
 |  |
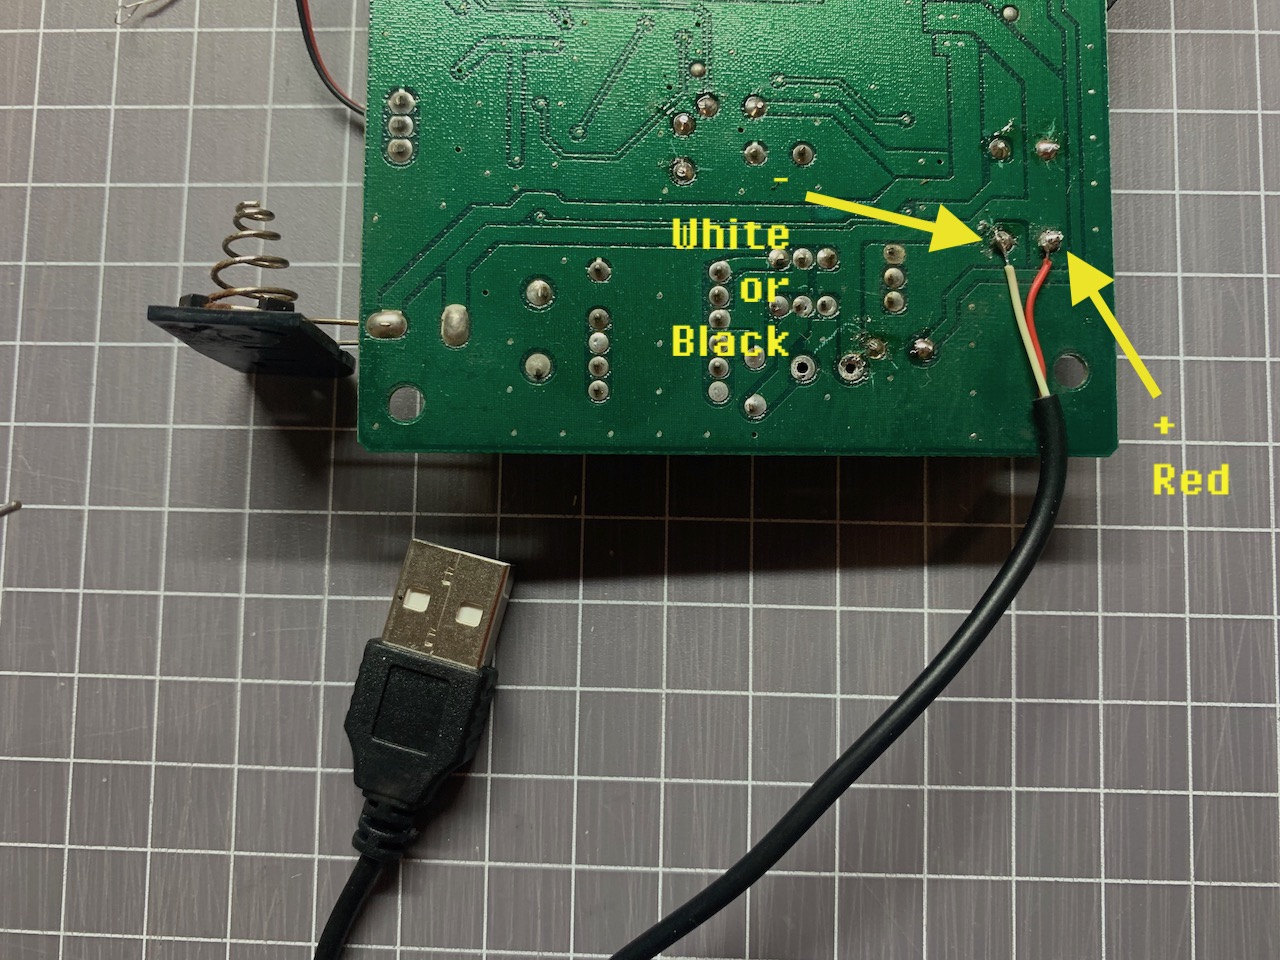
You need to find a specific capacitor on the Lynx motherboard -
You can use our Atari Lynx Capacitor Maps to find these. The photos below show what it looks like on a Lynx 2 motherboard.
Pay attention to where the +ve side of the capacitor is, it should be marked on the motherboard. If it is not, look at the capacitor and find a vertical stripe along its side - that is the -ve side, so the +ve side is opposite. The red wire from the USB cable has to be soldered to the +ve pin of the capacitor (on the bottom side of the motherboard). The black/white wire is then soldered to the -ve ping (the other pin) of the capacitor.
 |  |
It is recommended to insert a working cartridge in the cart slot, however this is not required and you should get the text "INSERT GAME" appear on the screen without a cartridge inserted. Then simply plug the USB cable into a USB power bank or wall adapter, doesn't matter which, as long as it can provide 1A (at least 5W) of power. The Lynx should power on and play the game you have in the cart slot straight away. You will not need to press the On button. Note: typically a Lynx will not power up without a cartridge, but when the 9V circuit is bypassed, it will attempt to boot.
If the Lynx powers on OK with this procedure, it's still alive and working well. If you get a black screen or a completely white screen or some other glitchy behaviour, it's likely your Lynx is no longer working and has died. If you get the INSERT GAME message on the screen, your Lynx is likely working fine and you need to either clean the cartridge contacts or try a different cartridge.
This page is part of the Atari Lynx Repair and Troubleshooting Guides series.
^♥ Did we get something wrong or you have something to contribute? Please tell us about it!
♣ We're looking for content editors and maintainers, if you want to help us out, let us know!