Atari Lynx Vault is free, ad-free, and community-supported — please consider donating.
This site takes real effort to maintain. Your donation helps keep the lights on and the Lynx legacy alive.
via PayPal · any amount helps

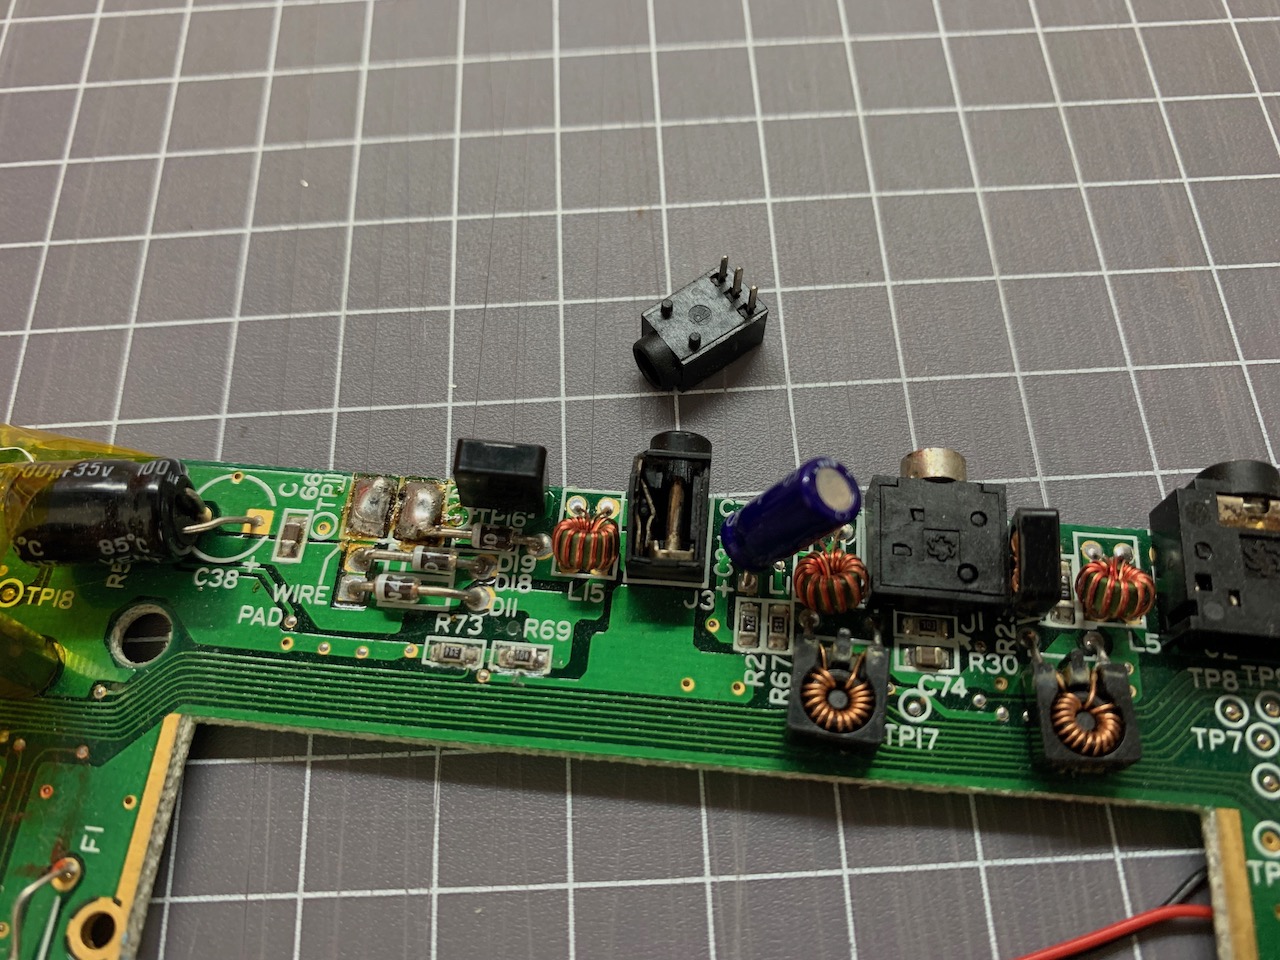
With constant use, the power socket in an Atari Lynx can start to fall apart or its inner pin that makes contact with the power barrel can get bent and twisted inside the socket. This guide describes how to replace the power socket on an Atari Lynx. We use a model 1 Lynx for demonstration purposes but the same concepts apply to model 2. Replacement power sockets are available from K-Retro. If you need to know how to take your Lynx apart, please check this article first - Lynx 2 disassembly steps and Screw size chart.
The power socket is located on the top side of the Lynx motherboard. There is usually hot glue blobs helping to hold the socket in place. These need to be removed using side cutters or needle nose pliers. Once removed, the socket should only be held on by its three pins.
 ^
^
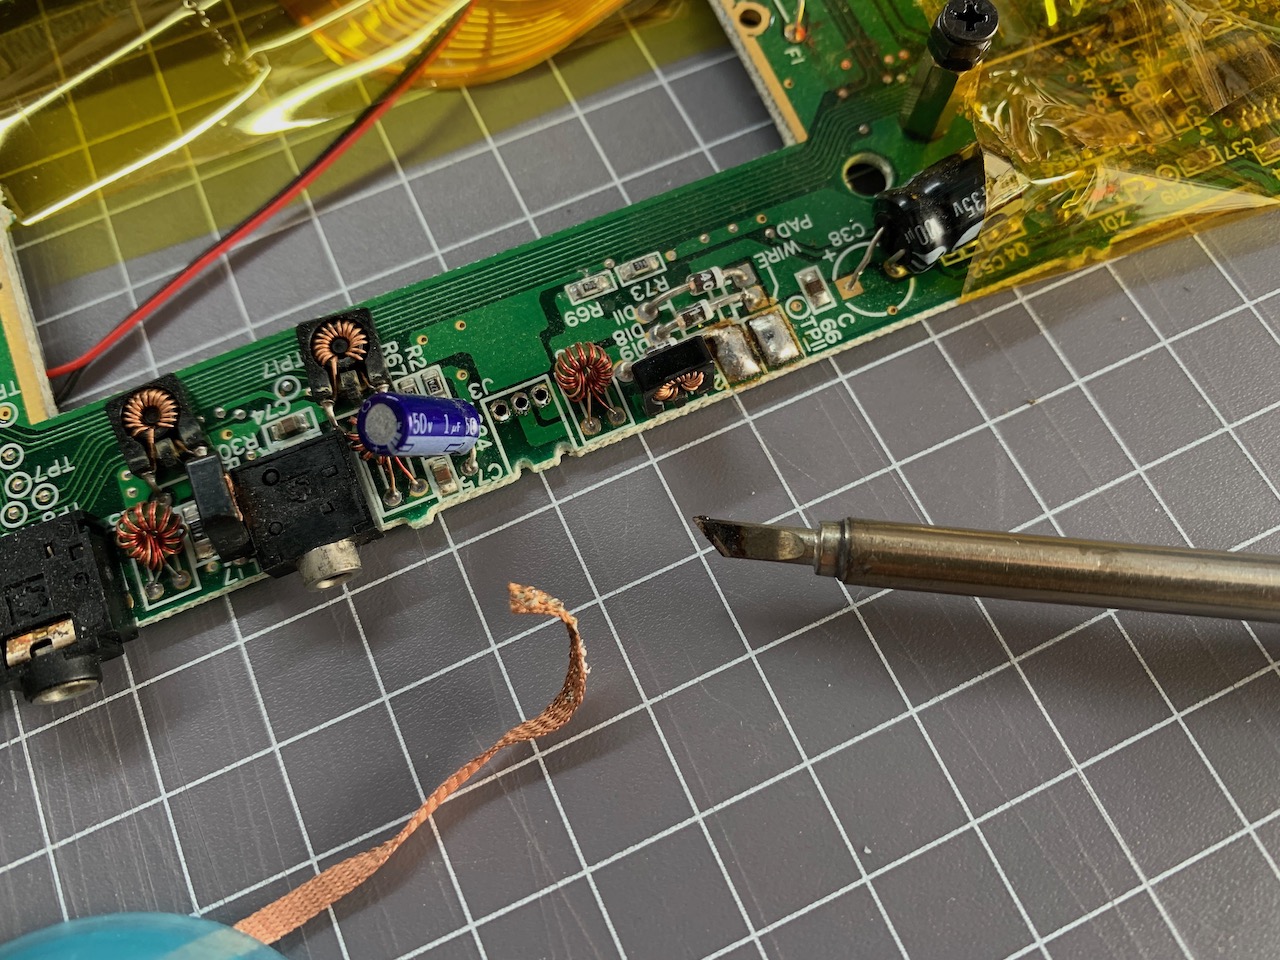
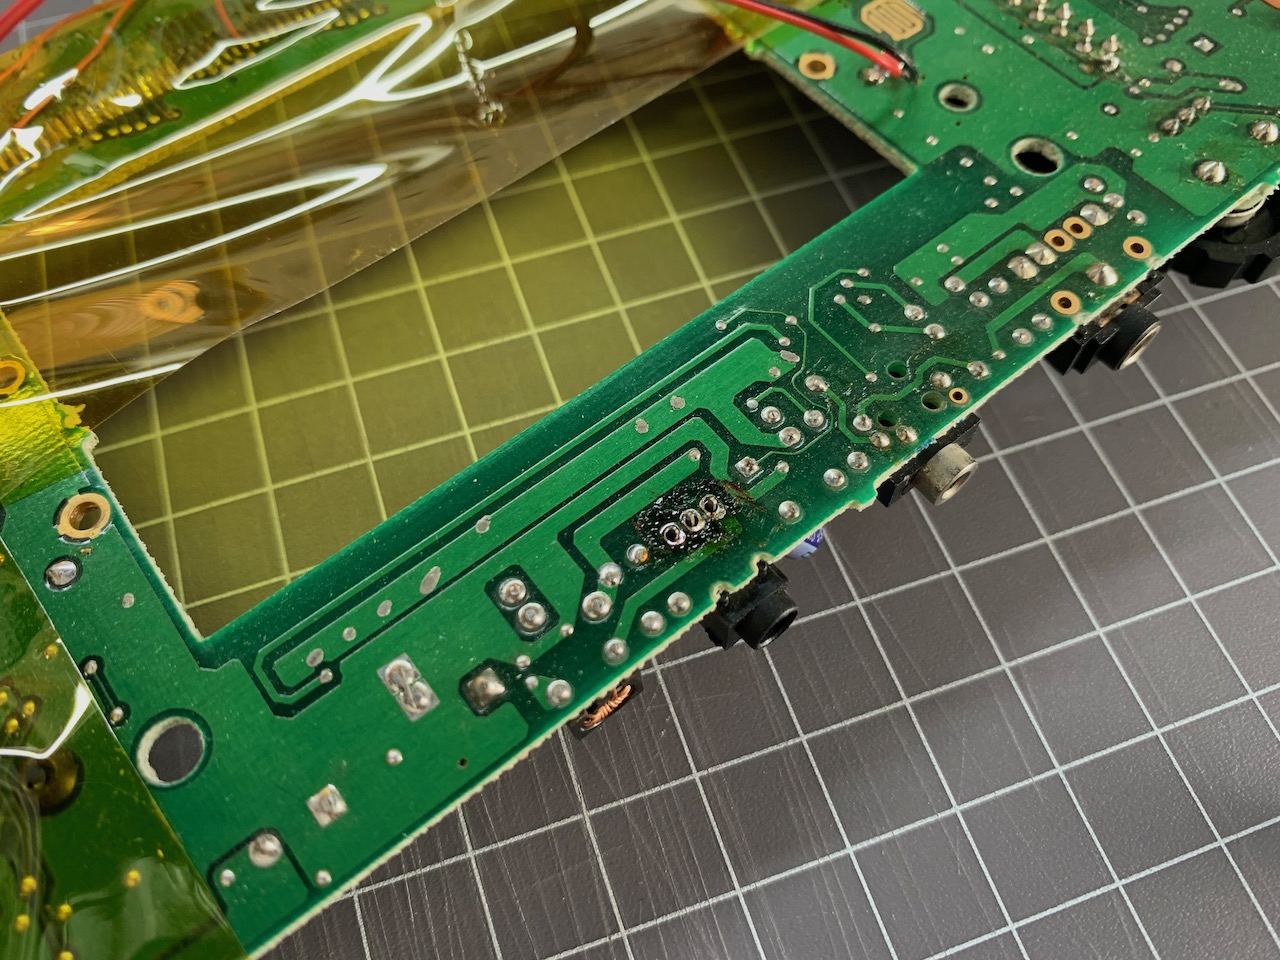
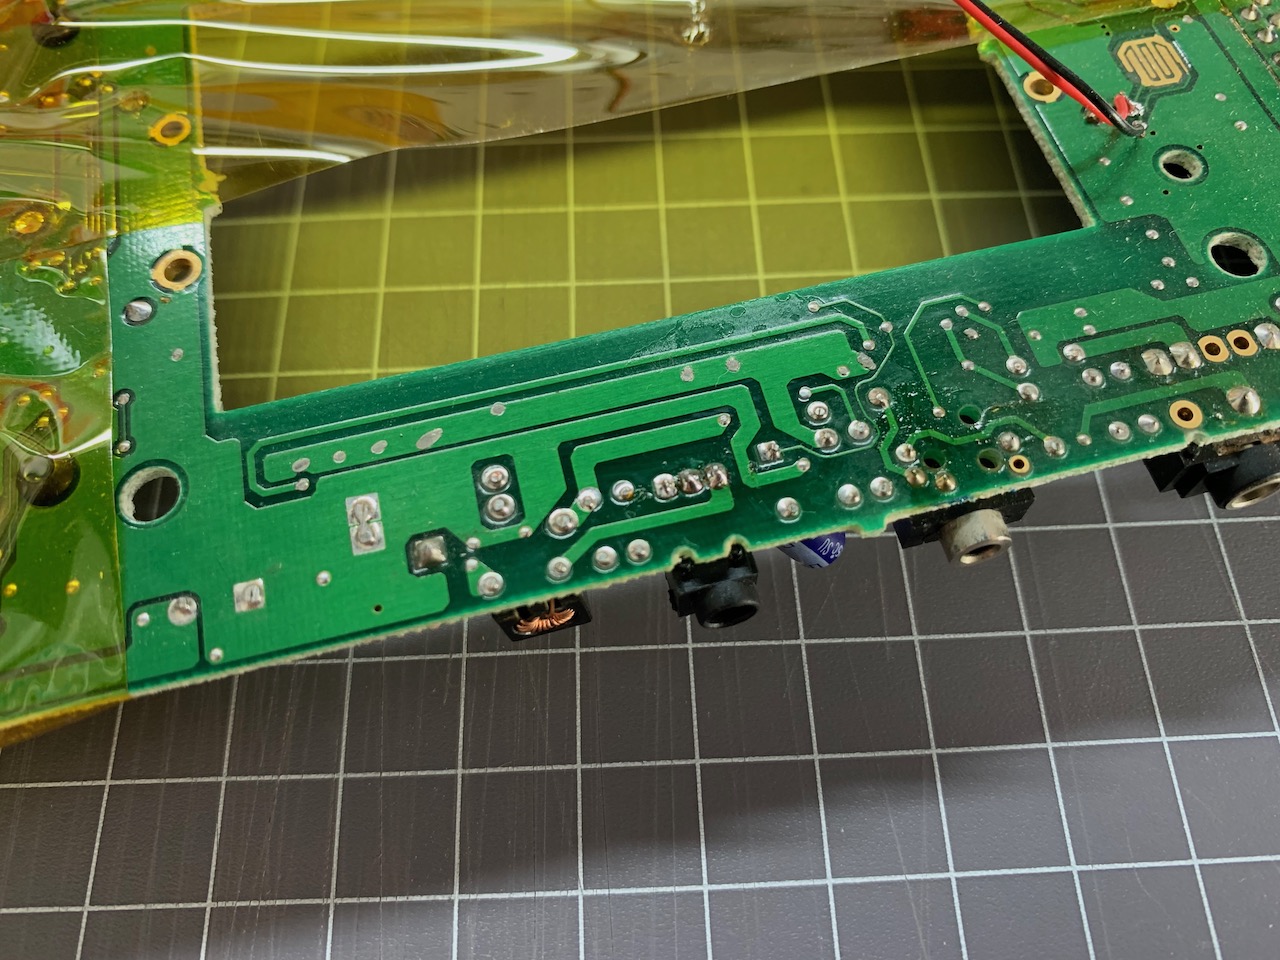
Flip the Lynx motherboard around to the bottom side and either using a desolder gun or desoldering braid, remove the solder around the three pins that secure the power socket. Be careful to not lift any traces.
 ^
^
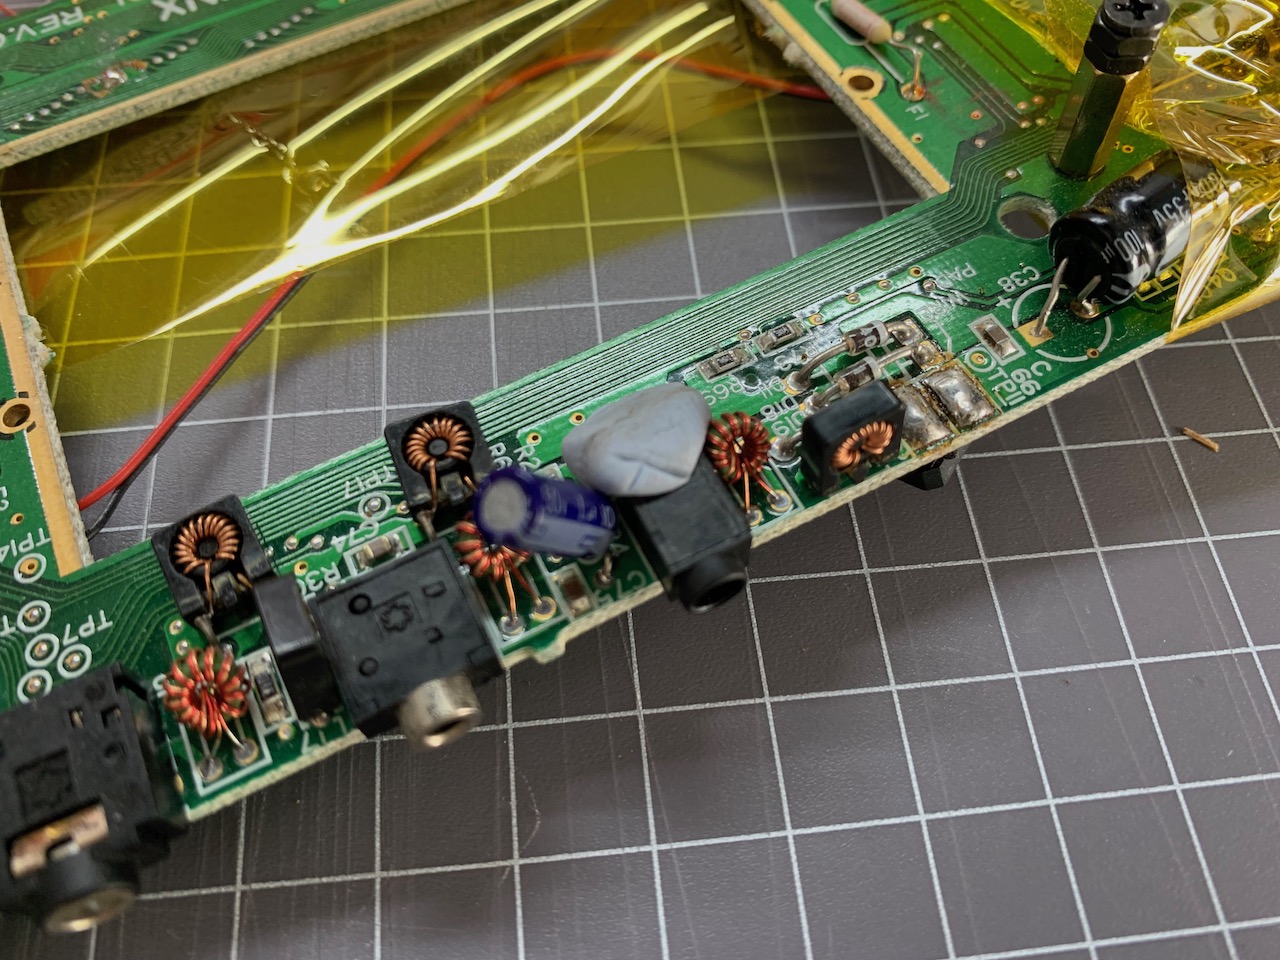
Push the new socket in, use some Blu-Tac (or similar) to hold it in place, then solder it's legs into the motherboard. Trim the legs if required. Then using some IPA clean any remaining flux residue.
 |  |
This page is part of the Atari Lynx Repair and Troubleshooting Guides series.
^
♥ Did we get something wrong or you have something to contribute? Please tell us about it!
♣ We're looking for content editors and maintainers, if you want to help us out, let us know!