Atari Lynx Vault is free, ad-free, and community-supported — please consider donating.
This site takes real effort to maintain. Your donation helps keep the lights on and the Lynx legacy alive.
via PayPal · any amount helps

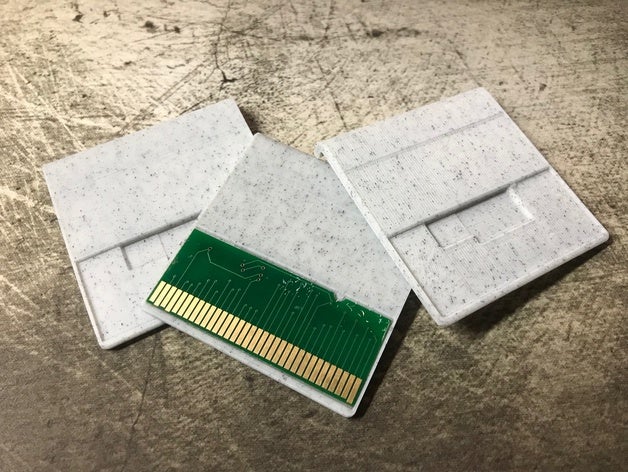
Making a homebrew Atari Lynx cartridge has become almost trivial thanks to the efforts of Karri Kaksonen. His PCB design uses TSOP components to create an ultra-thin PCB which can fit into a 3D printed shell. The PCB itself is 0.6mm thick, the flash and EEPROM ICs bring the total thickness up to 1.8mm. The assembled PCB can be secured with adhesive or a sticker to the cartridge shell and used in both the Lynx model 1 and 2.
👉 You can find most of the components required to make an Atari Lynx cartridge in our Online Shop.
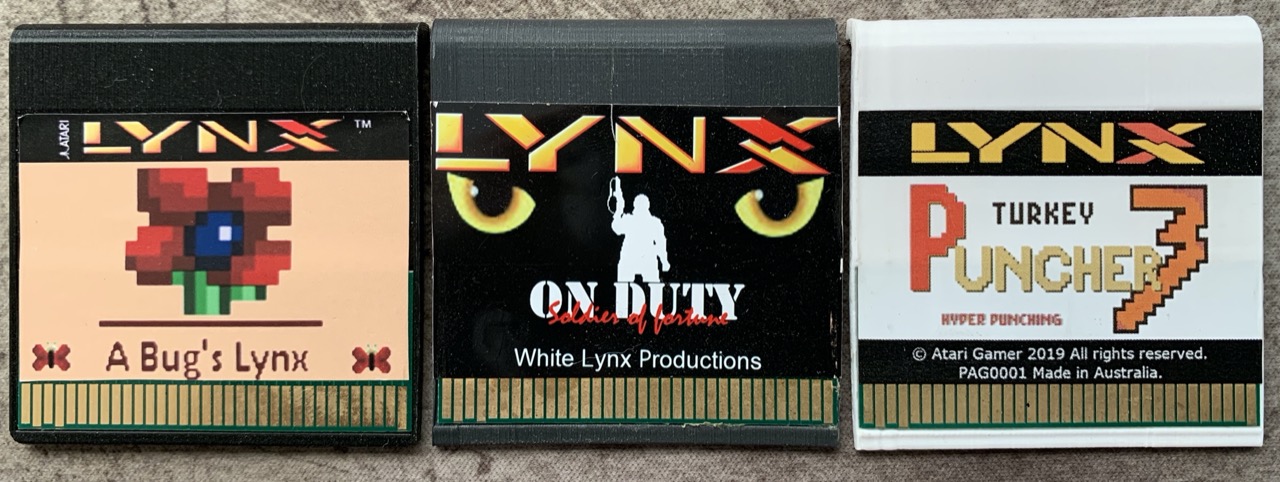
Below are some examples of cartridges that have been produced with this design.
 |
The source files in KiCAD format are available over at Karri's Bitbucket repository. You can also order the PCB with PCB Assembly from PCBWay via this project link. Ordering PCBa has a significant up-front cost so Karri offers to sell these PCBs in lots of 10 from his online store.
The following components are required for the assembly of this PCB:
The EEPROM can be swapped out for a larger 2048b (16KiB) size by using the 93C86C-I/ST IC. You can use any of the 93CxxC family EEPROMs up to the 2048b size as long as it is supported by CC65 Lynx library(currently the 46, 66 and 86 EEPROMs).
EEPROM Type values
Type 1: 93C46
Type 2: 93C56
Type 3: 93C66
Type 4: 93C76
Type 5: 93C86
EEPROM size is 2^(type+9) — e.g. 2^(1+9) = 1024 bits for 93C46. Lynx is little-endian.
The PCB also allows for a larger 64KiB IC to be used for the EEPROM, however CC65 does not currently support it.
Assembled PCBs with components look like this...
 |
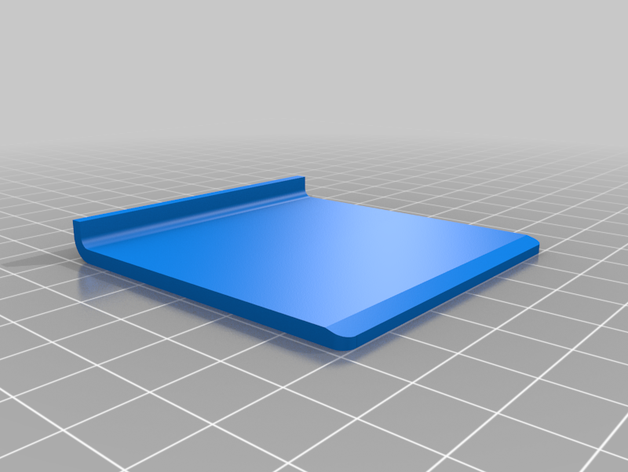
The PCBs have to be fit into a cartridge shell. The original shell STL was designed by Karri as well, however we at Atari Gamer have improved on the design to bring the curved lip style 3D printed shell. The STL for it is available on Thingiverse - Atari Gamer Lynx Curved Lip Cartridge Shell.
This shell will work for the PCBs with the 93CxxC series EEPROM fitted. When slicing, be sure to position the model on its side or it will not point properly. It should be possible to print a shell in about 1.5 hours on an average 3D printer. You can also purchase these shells from us, if you want to do so, please contact us.
 |  |
The flash IC can be programmed using an external flash programmer (before soldering), but it is much easier to use the Lynx Cart Programmer Pi-Hat for this purpose if you have already assembled PCBs. This PiHat is based on Karri's original Lynx Programmer design, but in a convenient package that slips on top of a Raspberry Pi. Software is available for both writing and reading to/from cartridges.
 |
♥ Did we get something wrong or you have something to contribute? Please tell us about it!
♣ We're looking for content editors and maintainers, if you want to help us out, let us know!