Atari Lynx Vault is free, ad-free, and community-supported — please consider donating.
This site takes real effort to maintain. Your donation helps keep the lights on and the Lynx legacy alive.
via PayPal · any amount helps

If you purchased the Atari Lynx Cart Reader/Writer (Programmer Pi-Hat) and you're not sure how to get started with connecting it to your Raspberry Pi, follow this guide. All you need is either an Allen/Hex key or a Pentalobe screwdriver for M2.5 Hex Screws.
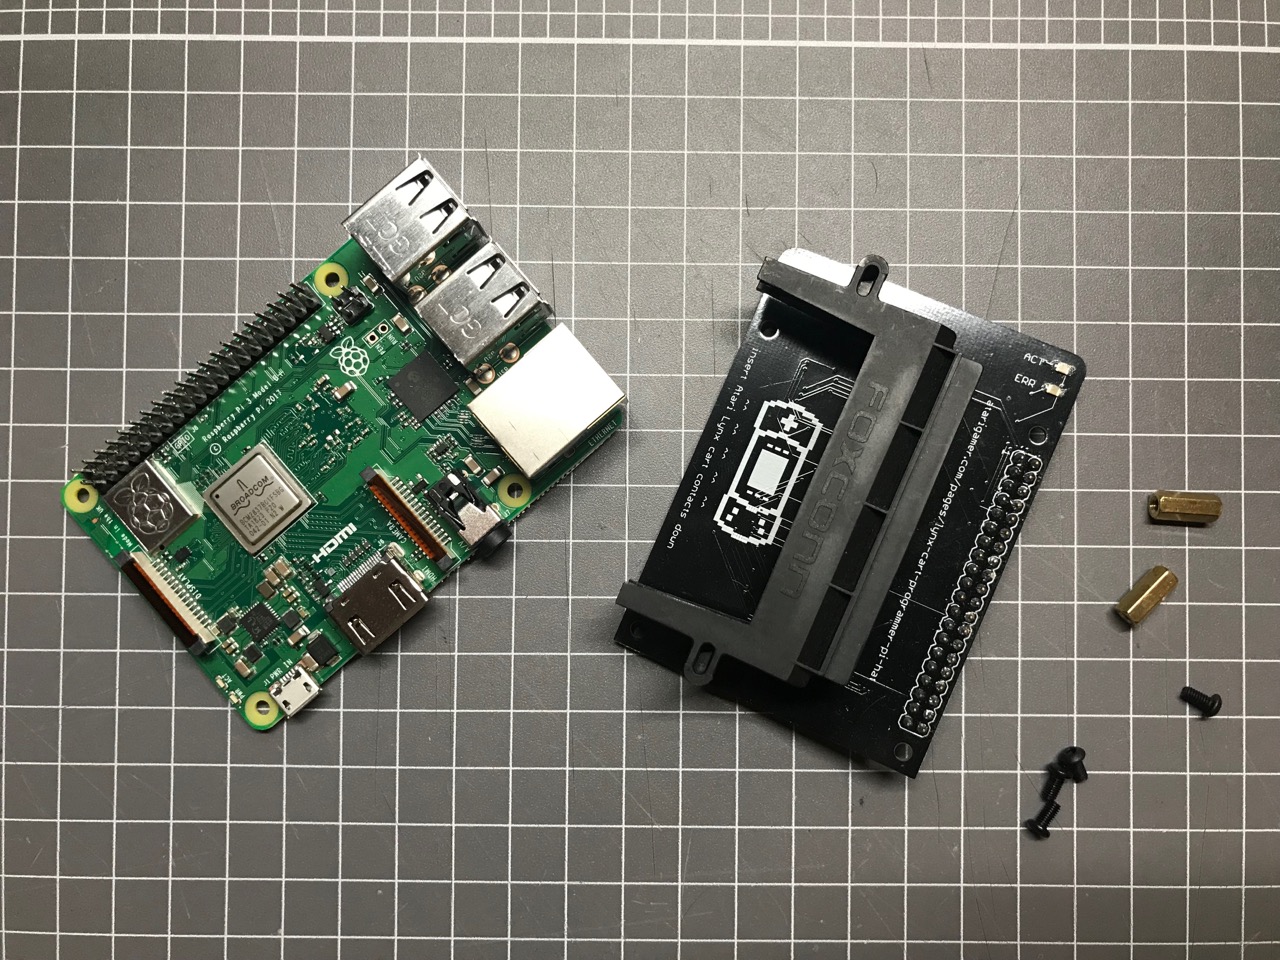
Along with the board, you should have received the following in your kit:
 |
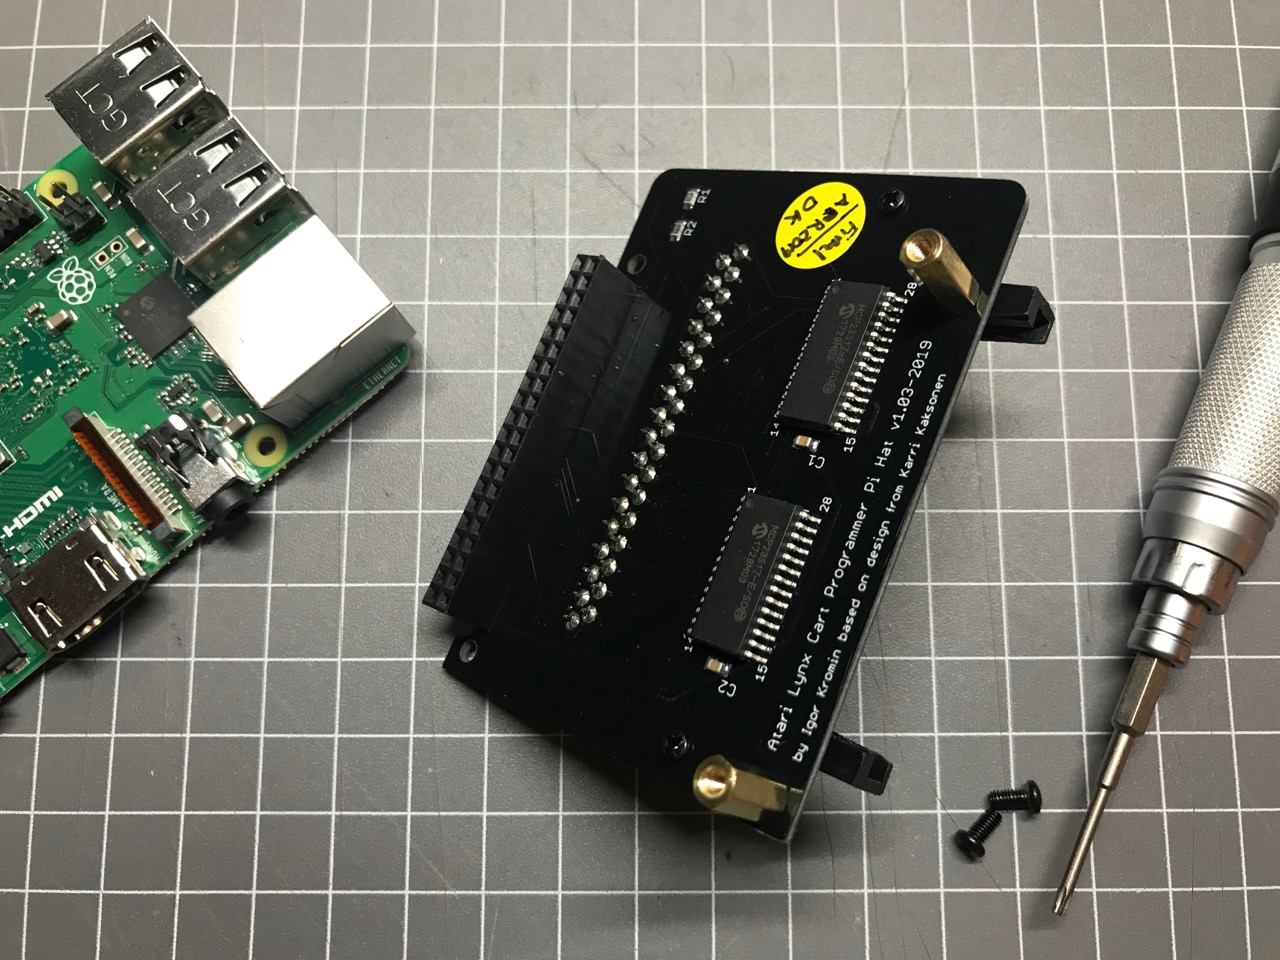
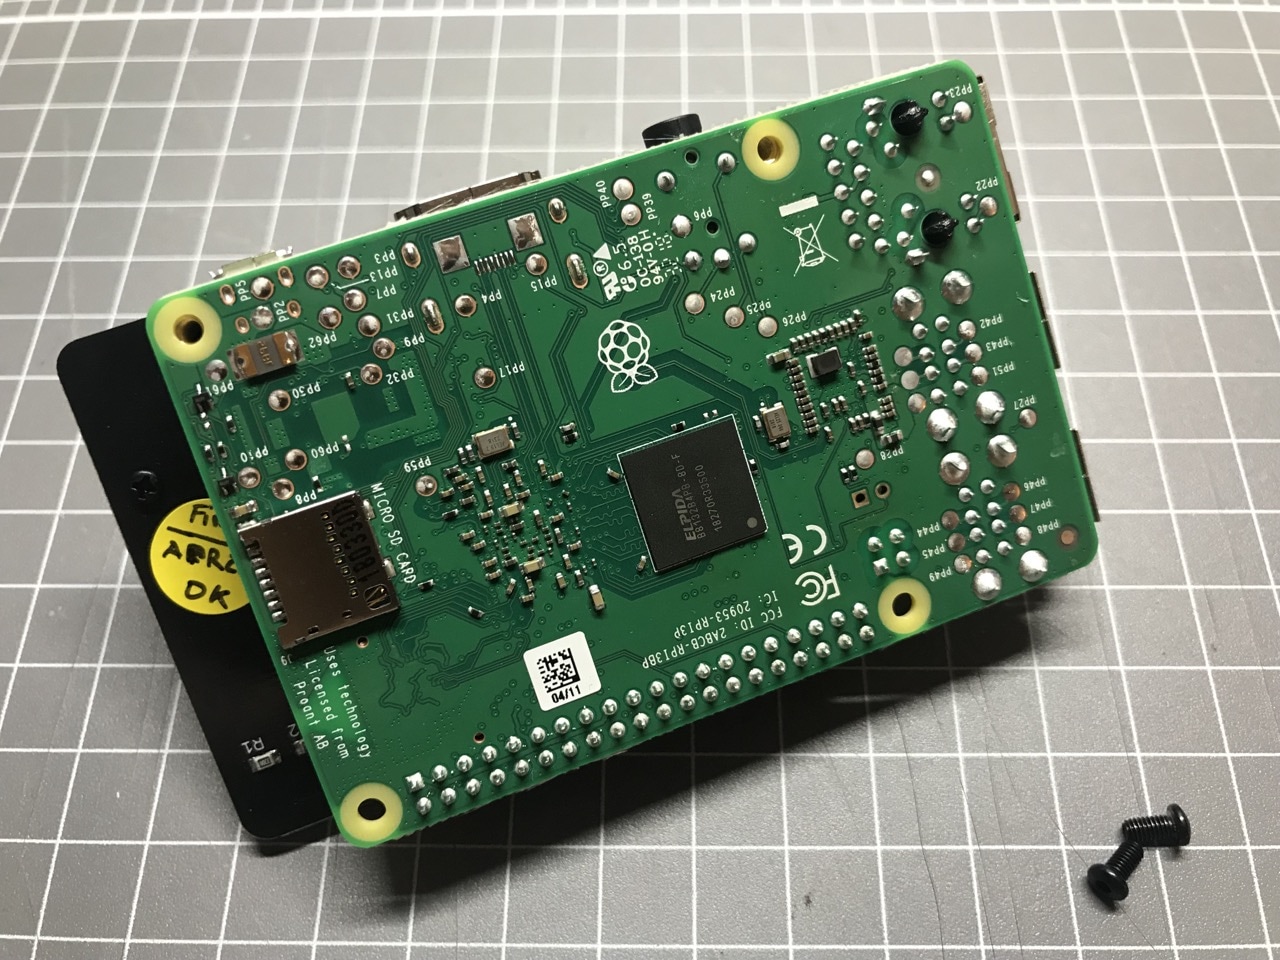
Step 1 - Using one screw per standoff, attach both standoffs on the chip side of the board, on the edge closest to the two chips.
 |
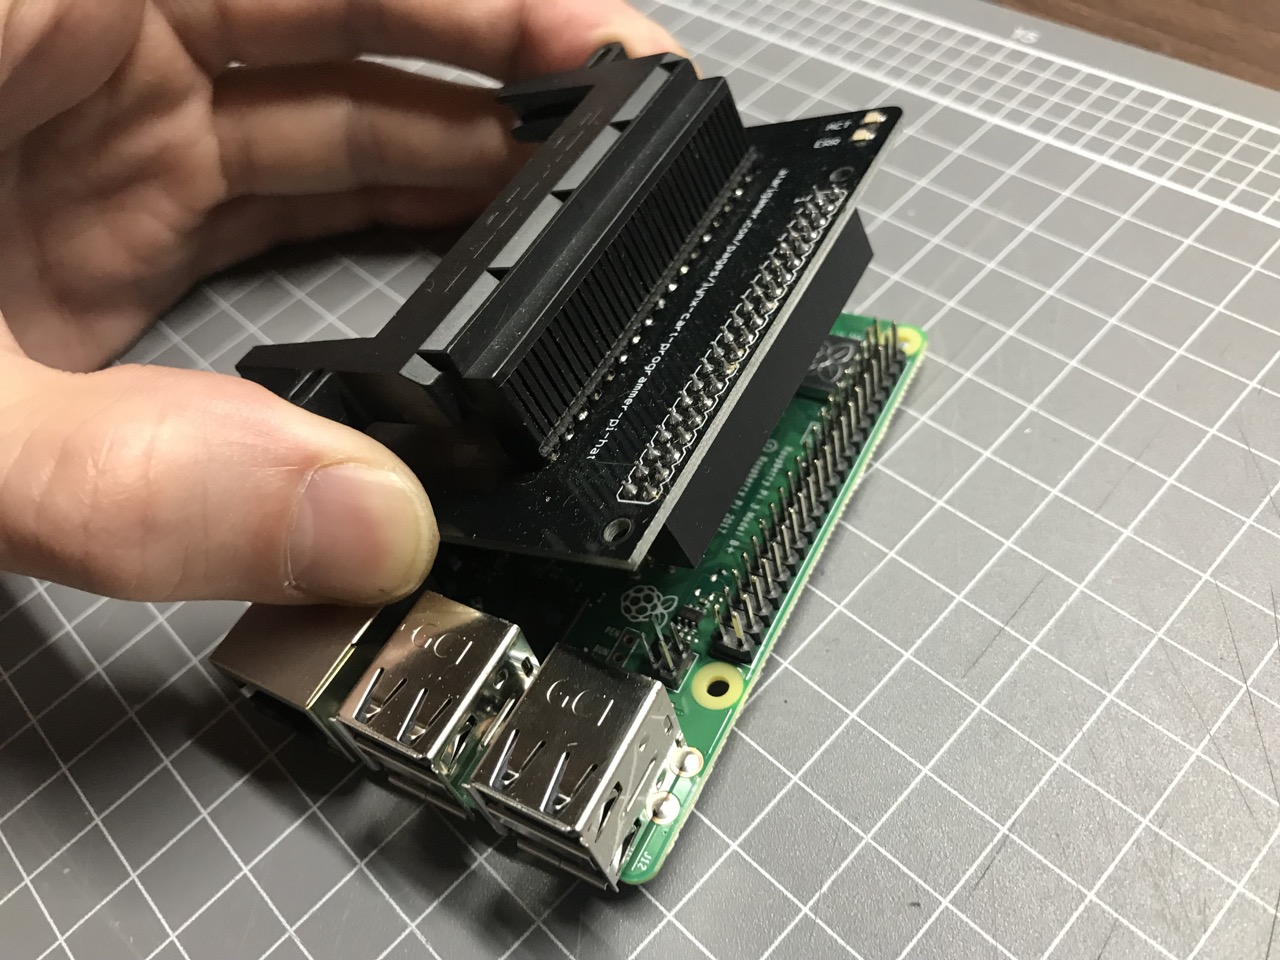
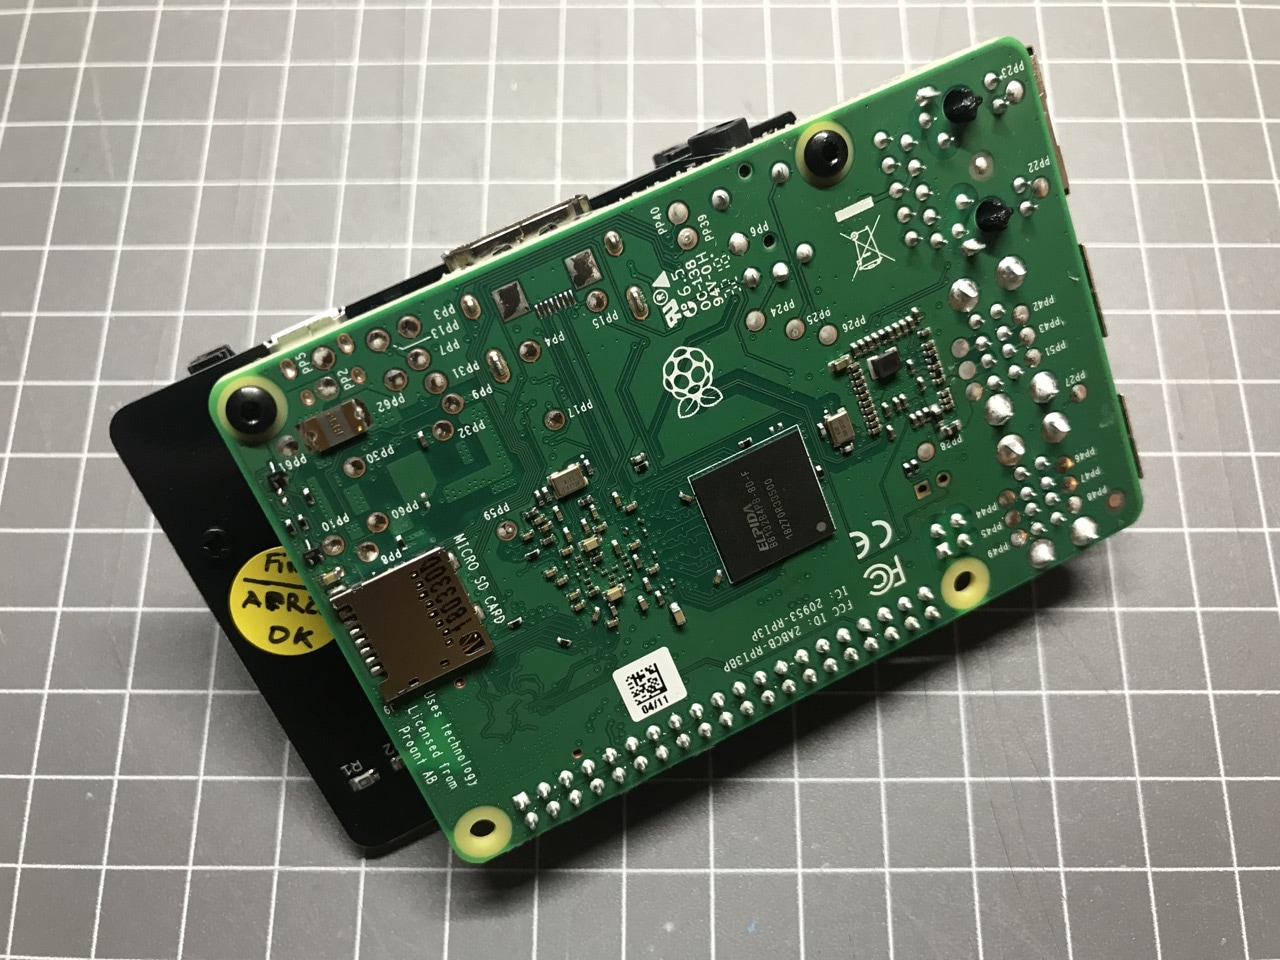
Step 2 - Carefully align the 40pin GPIO pins on the Raspberry Pi to the connector on the board and slide one over the other. All of the pins from the Raspberry Pi should be completely inside the connector from the reader/writer board.
 | 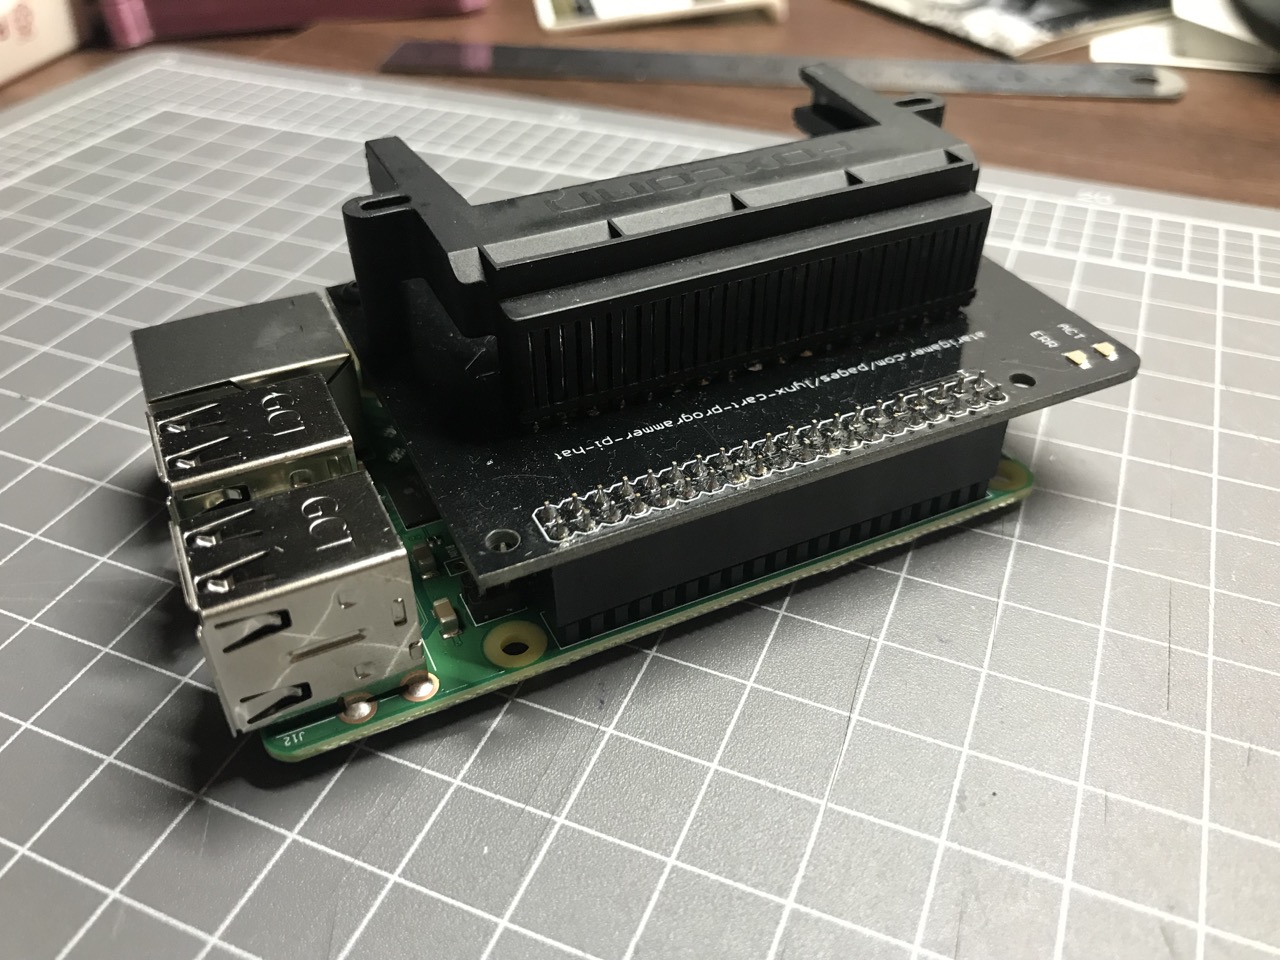 |
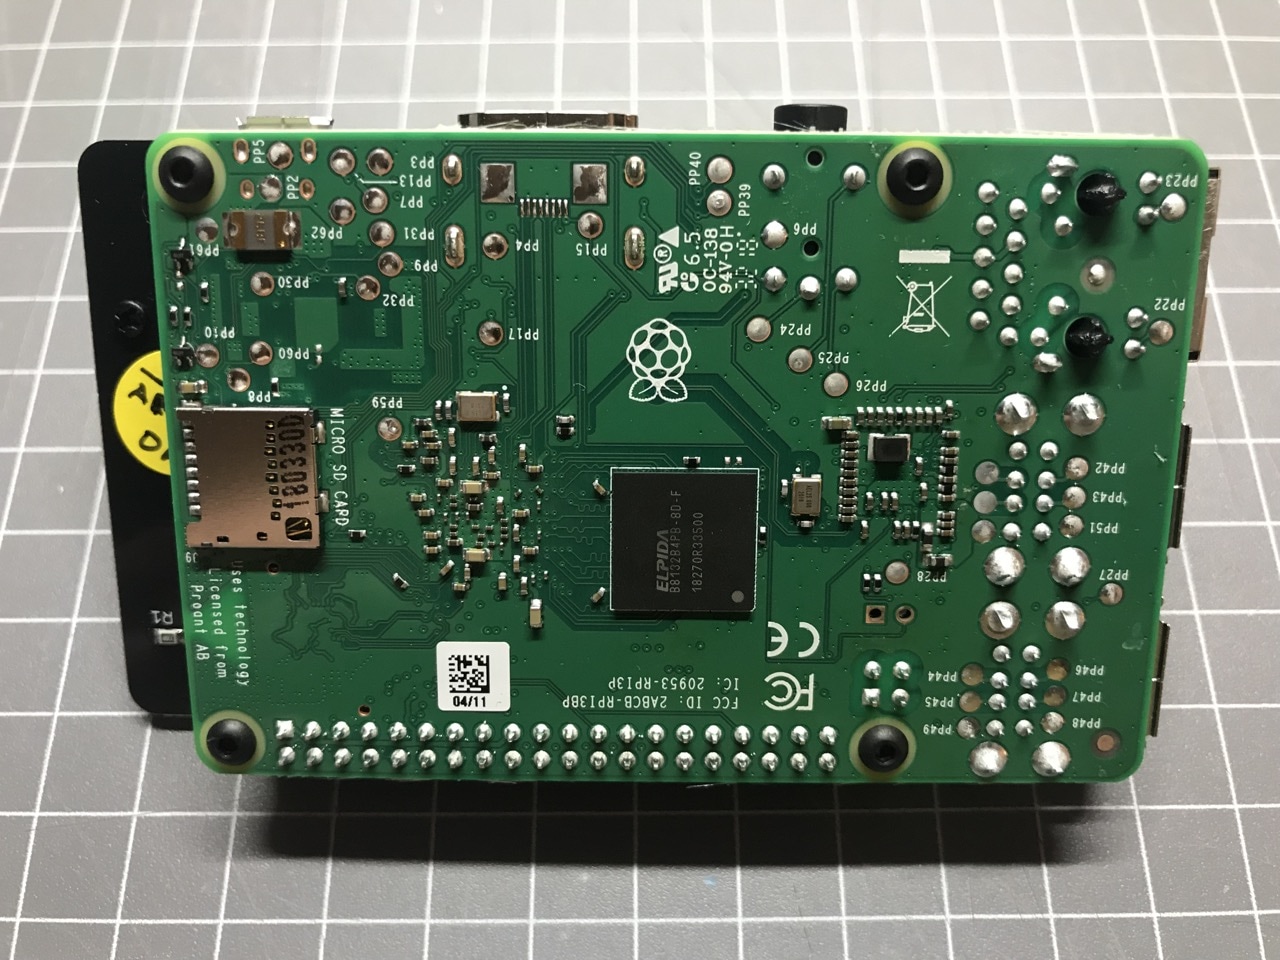
Step 3 - Flip the Raspberry Pi over and using the remaining two screws fasten the standoffs to the Raspberry Pi.
 |  |
Optional - Even though it is not required to add standoffs around the GPIO connector, you may want to do that for additional rigidity/security and aesthetic reasons. These extra standoffs and screws are not provided but can be purchased separately - M2.5 5mm hex screws and 11mm hex standoffs. If you don't want to buy a bulk lot, get in contact and Atari Lynx Vault can arrange a set for you.
 |
♥ Did we get something wrong or you have something to contribute? Please tell us about it!
♣ We're looking for content editors and maintainers, if you want to help us out, let us know!